[Android] 안드로이드 스튜디오 Preference 활용
- 코딩/Android
- 2020. 4. 5.
xml파일1

<?xml version="1.0" encoding="utf-8"?>
<LinearLayout
xmlns:android="http://schemas.android.com/apk/res/android"
xmlns:app="http://schemas.android.com/apk/res-auto"
xmlns:tools="http://schemas.android.com/tools"
android:layout_width="match_parent"
android:layout_height="match_parent"
android:orientation="vertical"
android:gravity="center"
android:padding="10dp"
tools:context=".MainActivity">

<Button
android:id="@+id/button"
android:layout_width="match_parent"
android:layout_height="wrap_content"
android:text="알림생성"
android:textSize="24dp"
android:textColor="#000000"
android:gravity="center"
android:layout_margin="10dp"
/>

</LinearLayout>


xml파일2

<?xml version="1.0" encoding="utf-8"?>
<LinearLayout
xmlns:android="http://schemas.android.com/apk/res/android"
xmlns:app="http://schemas.android.com/apk/res-auto"
xmlns:tools="http://schemas.android.com/tools"
android:layout_width="match_parent"
android:layout_height="match_parent"
android:orientation="vertical"
android:gravity="center"
android:padding="10dp"
tools:context=".MainActivity">

<TextView
android:layout_width="match_parent"
android:layout_height="wrap_content"
android:text="알 림"
android:textSize="28dp"
android:textColor="#000000"
android:background="#FFFF00"
android:gravity="center"
android:layout_margin="10dp"
/>

<TextView
android:layout_width="match_parent"
android:layout_height="wrap_content"
android:text="아이디와 비밀번호를 입력해서 로그인 하세요."
android:textColor="#000000"
android:textSize="24dp"
android:background="#CCCCFF"
android:gravity="center"
android:layout_margin="10dp"
/>

<LinearLayout
android:layout_width="match_parent"
android:layout_height="wrap_content"
android:gravity="right|center"
android:layout_margin="10dp"
>

<TextView
android:layout_width="wrap_content"
android:layout_height="wrap_content"
android:text="다시 이창을 표시하지 않음"
android:textColor="#000000"
android:textSize="18dp"
android:gravity="right|center"
/>

<CheckBox
android:id="@+id/checkBox"
android:layout_width="wrap_content"
android:layout_height="wrap_content" />
</LinearLayout>

<Button
android:id="@+id/button"
android:layout_width="match_parent"
android:layout_height="wrap_content"
android:text="확인"
android:textSize="24dp"
android:textColor="#000000"
android:gravity="center"
android:layout_margin="10dp"
/>

</LinearLayout>


자바파일


package com.example.preference;

import android.app.Dialog;
import android.content.SharedPreferences;
import android.support.v7.app.AppCompatActivity;
import android.os.Bundle;
import android.util.Log;
import android.view.View;
import android.widget.Button;
import android.widget.CheckBox;

public class MainActivity extends AppCompatActivity {
private static final String TAG = "MainActivity";
private static final String PREFERENCE_NAME = "MyPreference";
private static final String KEY_CHECK = "KeyCheck";
private Dialog dialog;
private CheckBox checkBox;

@Override
protected void onCreate(Bundle savedInstanceState) {
super.onCreate(savedInstanceState);
setContentView(R.layout.activity_main);

boolean isChecked = loadPreference(KEY_CHECK);
if(!isChecked){
dialog = new Dialog(this);
dialog.setContentView(R.layout.notification);
dialog.show();

checkBox = dialog.findViewById(R.id.checkBox);

Button button = dialog.findViewById(R.id.button);
button.setOnClickListener(new View.OnClickListener() {
@Override
public void onClick(View v) {
dialog.dismiss();

boolean isChecked = checkBox.isChecked();
savePreference(KEY_CHECK,isChecked);
}
});
}

Button button = (Button)findViewById(R.id.button);
button.setOnClickListener(new View.OnClickListener() {
@Override
public void onClick(View v) {
clearPreference();
}
});

return;
}

private void clearPreference(){
SharedPreferences preferences = getSharedPreferences(PREFERENCE_NAME, MODE_PRIVATE);
SharedPreferences.Editor editor = preferences.edit();
editor.clear();
editor.commit();
}

private boolean loadPreference(String key){
SharedPreferences preferences = getSharedPreferences(PREFERENCE_NAME, MODE_PRIVATE);
return preferences.getBoolean(key, false);

}

private void savePreference(String key, boolean isChecked){
SharedPreferences preferences = getSharedPreferences(PREFERENCE_NAME, MODE_PRIVATE);
SharedPreferences.Editor editor = preferences.edit();
editor.putBoolean(key, isChecked);
editor.commit();
}
protected void onPause(){
super.onPause();
Log.i(TAG,"onPause");
}

protected void onStop(){
super.onStop();
Log.i(TAG,"onStop");
}
}
저장 불러오기
2개의 xml파일과 1개의 자바파일루 구성
만들어진 이미지

이창에서 다시 이창을 표시하지 않음을 체크 언체크 후 확인을 누를수있다.
체크를 하게되면 이창이 다시 표시되지 않는다.
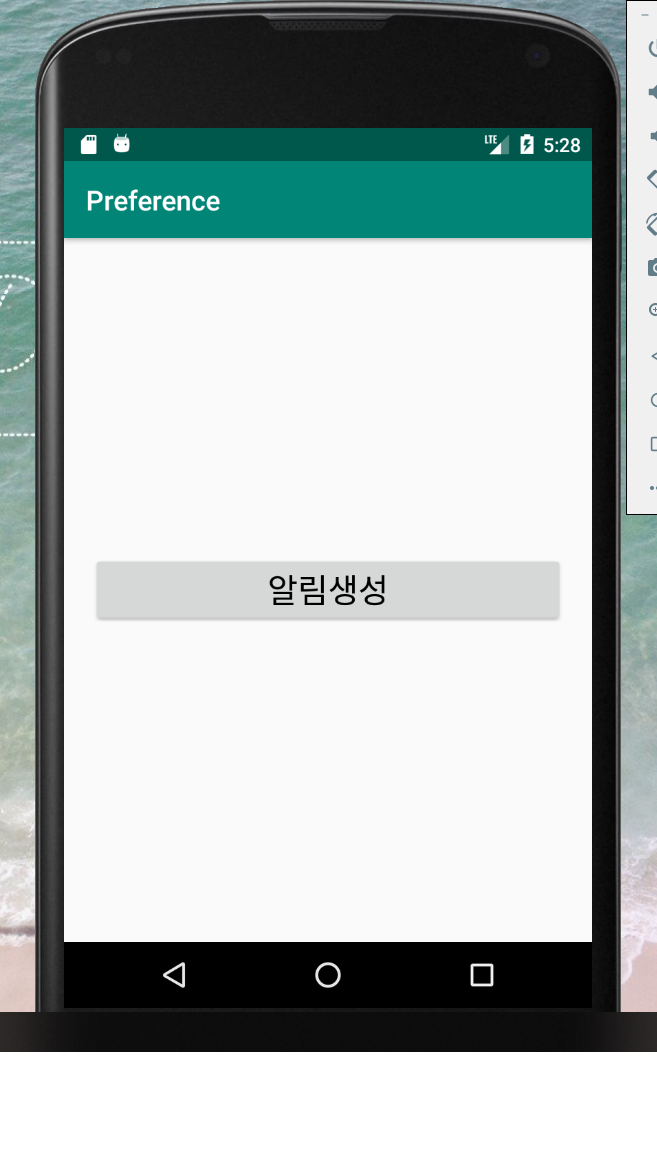
다시 창을 표시되게 하려면 알림 생성 버튼을 누른면 된다.
'코딩 > Android' 카테고리의 다른 글
| [Android] 안드로이드 스튜디오 ListView 만들기 (0) | 2020.04.07 |
|---|---|
| [Android] 안드로이드 스튜디오 SurfaceView(서페이스뷰) 활용 (0) | 2020.04.04 |
| [Android] 안드로이드 스튜디오 쓰레드(thread) 사용 예시 (0) | 2020.04.03 |
| [Android] 안드로이드 스튜디오 핸들러 이용한 프로그레스바 구현 (0) | 2020.03.30 |
| [Android] 안드로이드 스튜디오intent 이용하여 text 보내기 (0) | 2020.03.28 |